In the following practical Android video tutorial, I am going to teach you the correct way to install Xposed on Android. This regardless of the version of Android that you have installed on your device since, at the moment there is an installation method for versions of Android Lollipop up to Android M.
The video with which we begin this practical tutorial, even being oriented to teach you how to install Xposed on Android M, Specifically on a Samsung Galaxy S6 Edge Plus which is my personal smartphone, the installation method is identical for all Android versions, with the only change to the Xposed ZIP file to be installed through the modified Recovery that will depend on the version of Android that has the terminal installed to Flash Xposed. So if you are thinking of install Xposed Framework on your Android terminal and you do not know exactly how to do it, I advise you not to miss details of this post and the attached video with which we began this article.
Requirements to install Xposed on Android
To install Xposed on Android and to be able to enjoy all the customization that the download and installation of modules offers us, they go through meeting these essential requirements:
- Have a rooted Android terminal.
- Having the Recovery Modified successfully flashed and updated to its latest version available.
- Having a nandroid backup, backup of the entire operating system from the Modified Recovery. This in case we have problems with an incompatible module to be able to recover the terminal as it was before the installation of the conflicting module.
- Follow the installation steps that I explain in the attached video with which we started this post.
Files Needed to Install Xposed on Android
![[APK] How to install Xposed on Lollipop](https://www.androidsis.com/wp-content/uploads/2015/05/apk-como-instalar-xposed-en-lollipop-1.jpg)
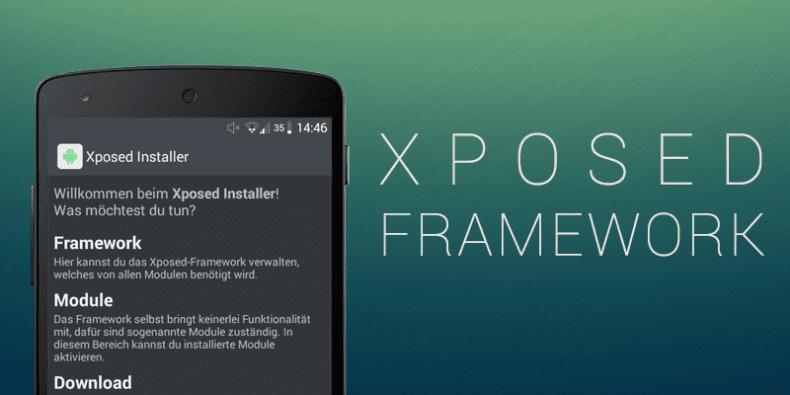
To install Xposed on Android, regardless of the version of Android that we have installed, we will need to download the latest version of Xposed Installer, plus the download of the Xposed ZIP corresponding to our version of Android.
Here are the direct links to download the Xposed Installer APK in its latest and most up-to-date version, as well as links to download the necessary ZIP files according to your Android version:
- Xposed Installer apk. (This is the application that I install first in the video and it is valid for any version of Android).
From this page you have access to the download of the Xposed ZIP file corresponding to versions of Android 5.0, Android 5.1 and Android 6.0. Below I leave you the corresponding direct links for each of the mentioned Android versions:
- Download Xposed Framework SDK 21 for versions Android 5.0.
- Download Xposed Framework SDK 22 for versions Android 5.1.
- Download Xposed Framework SDK 23 for versions Android 6.0.
You can also download the Xposed unnistaler file from this same link. This ZIP file is valid for any version of Android and is an essential file if one day we want to completely remove Xposed from our Android.
Once these two files are downloaded, the apk file plus the ZIP file corresponding to our version of Android, we are going to copy them to the internal memory of our Android device and we are going to proceed with the installation method and Flashing of Xposed in Android.
Xposed installation method on Android step by step
As I tell you in the attached video with which we started this post, I show you the installation process and Flashing of Xposed in Android step by step, a process that is limited to following these simple steps:
- We install the downloaded apk just like we would install any application in APK format. To do this, we must first enable from the Android Settings in section Security, the option that allows us to install apps from unknown sources or of unknown origins. Then all you have to do is click on the APK file itself for the Xposed Installer installation to begin.
- After installing the Xposed Installer apk, the application from which we are going to install and uninstall Xposed modules, We will restart in Recovery Mode and from the option install, we will select the ZIP corresponding to our current version of Android and we will execute it.
- Reboot System Now.

Hello !!! I have a doogee hotmtomht17pro with arm64 bits. I have tried all the zips and the screen is black after updating the applications. I don't know what to do, you can help me. My email is:
borja1969@gmail.com