The agenda becomes a fundamental part of our phonesWithout it, most applications that require this section to function would not work. Smartphones are designed to make and receive calls, although currently the greatest usability goes through the use of instant messaging.
Today we bring you a guide with which to synchronize and organize your contacts on Android in all its versions, since it works similar in each of the versions. Once it is completed you will be able to get the most out of it and quickly find each of its options.
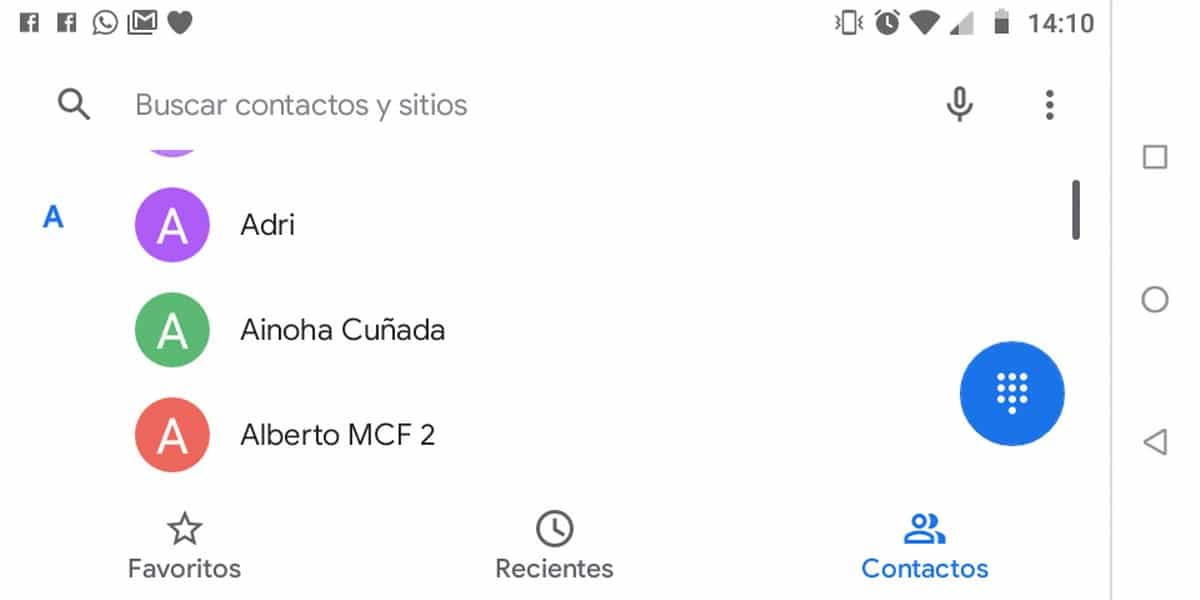
Manage your contacts
The Contacts application will allow you to access the contacts that you have associated with your Google account, you can find a search button at the top right. The red button - this can change - will allow you to add contacts in the phonebook with the name, phone, email and other information of interest.
In any contact the associated file is shown, clicking on the pencil in blue tone - at the bottom right - will give us the option to fill in empty fields. Apart from this we can expand more fields, just below the option with the same name: «More fields«.
Customize your contacts
Click inside »Contacts» on the button with three vertical dots and choose the option «Customize» - this will vary depending on the brand and model, even depending on the version of Android -. In it you can select by categories: Friends, family, coworkers, my contacts or all other contacts.
In addition, you can choose between the applications that have their own contact list, either WhatsApp or Facebook. We see the clear example in the Google contacts, you have two options to show them, choosing a group or all the available contacts.

Contacts +
An application that will get the most out of social networks is Contacts +, is available for free on the Play Store and adds many customization features. It has smart organization, customizable themes, quick search, contact view list, Android Wear support, among many other options.
The application is private and customizable, therefore security will not be in question, although it is clear that we can remove the permissions once we want to install it on our Android device.