If you have an Android Smartphone or even a Tablet in which a good portrait mode in its integrated cameras stands out due to its absence, you are in luck since in this new video-post I am going to show you how to add or apply this effect or portrait mode also known as blur effect, to any photo you have saved on your Android terminal.
A portrait mode that for those who do not know it, is the blur mode or also known as blur effect that is already integrated by default in the cameras of the best Android terminals and that give it that quasi-professional look by blurring the background making the main object or person, the one shown in the foreground, stand out and appear which is one layer above the background of the photograph.
If you have an Android terminal in which its strength is not precisely its integrated cameras, or even having good cameras, these lack the portrait mode, Blur or blur effect, the application that I show you in the video, a super simple application of use, it will come like a glove, and that is With a couple of strokes you will get some really spectacular blur or portrait mode effects.

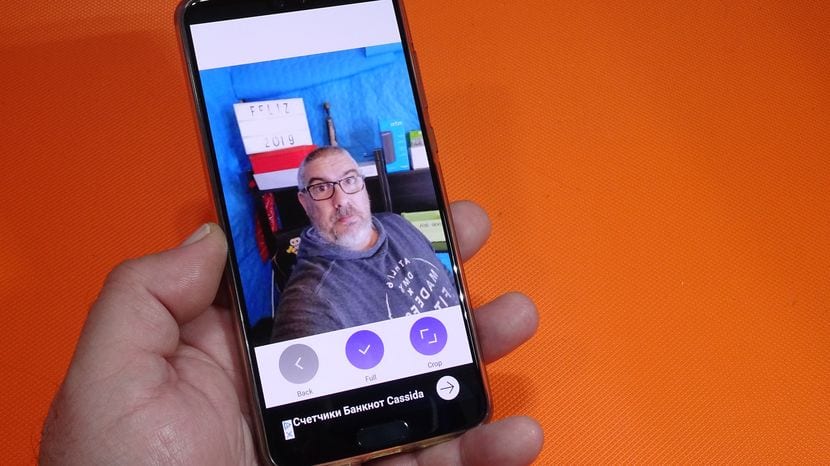
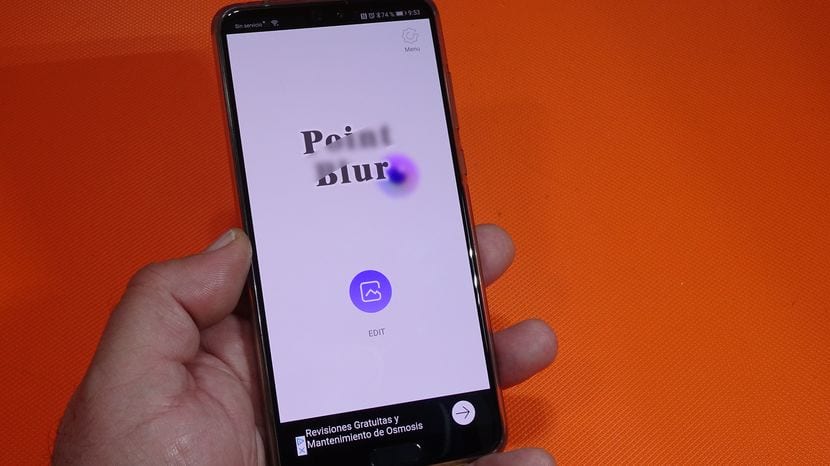
The application that responds to the descriptive name of Point Blur (Blur Photos), we will be able to download it completely free from the Google Play Store through the direct link that I leave just below these lines.
Free download Point Blur (Blur Photos) from the Google Play Store


How to add blur effect, (portrait mode) to photos taken with our Android
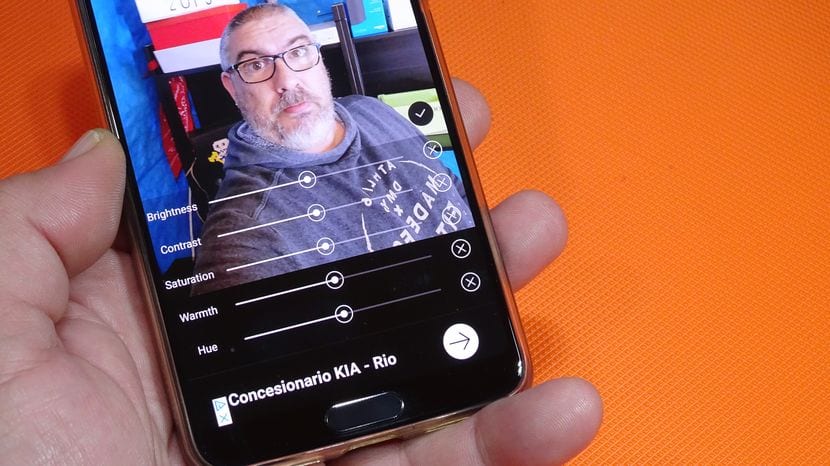
Example of background blur effect made with Point Blur
In the video that I have left you right at the beginning of this post, I explain in great detail, step by step, how to use the application Point Blur to add this blur effect or portrait mode effect to the photos taken with our Android or to any photo that we have stored in it.
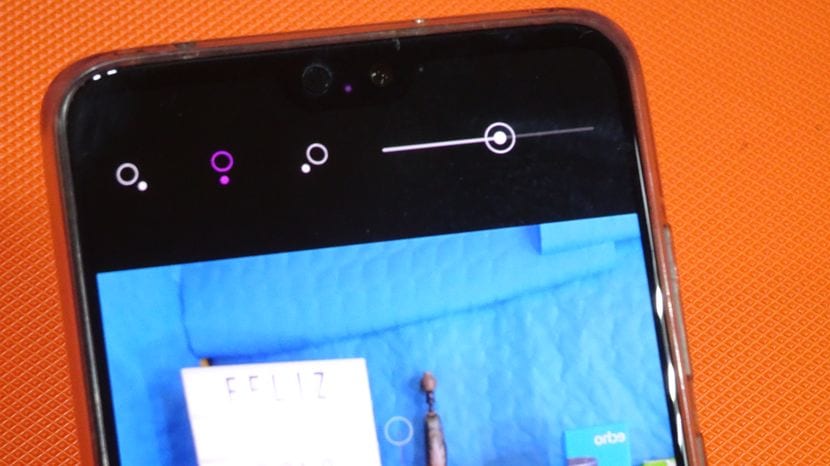
A process that is limited to opening the application, selecting the photo in question that we want to add the blur effect, blur effect or portrait mode, and literally dragging the finger like a brush across the background of the photograph to blur it practically instantaneously.
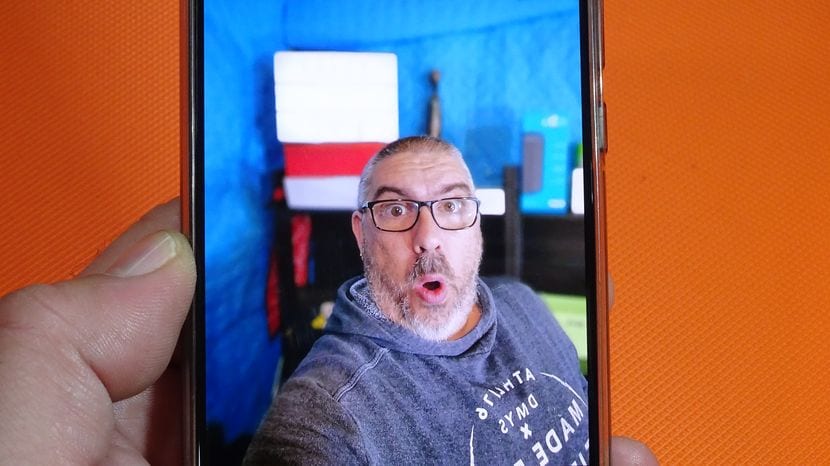
Same photo before being manipulated with Point Blur
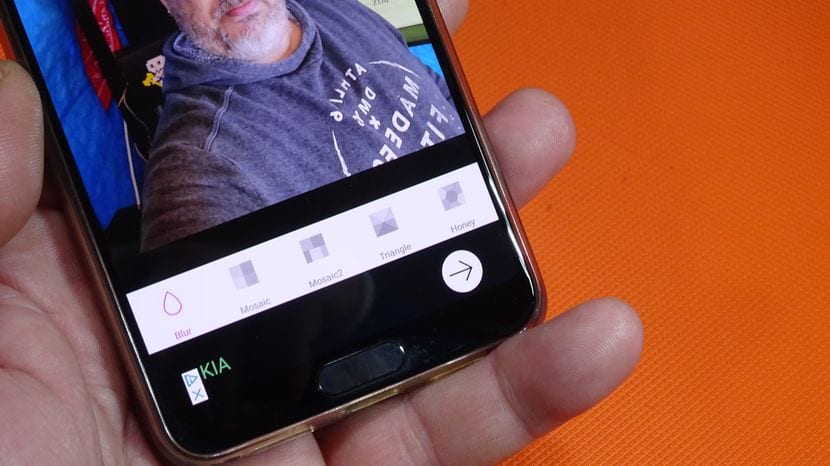
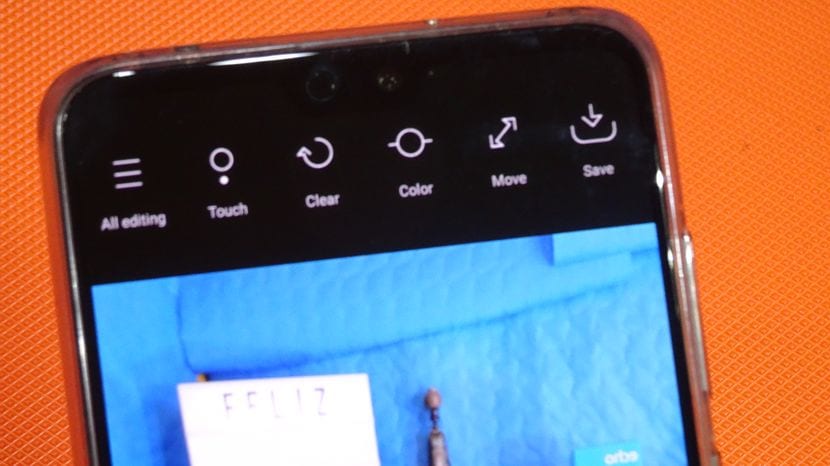
How is it logical, the application has different tools to work better with photography and thus achieve a most spectacular blur effect, tools such as the thickness of the brushes, the intensity of the effect or even a very good option to move the point where we mark when we put our finger on the screen of our Android.

How I tell you, in the video that I have left you right at the beginning of this article I show you through a practical example made in real time, how the application is used and how in just a couple of minutes and with a little skill, we can add this blur effect to any photograph we have on our Android.